Contents:
•
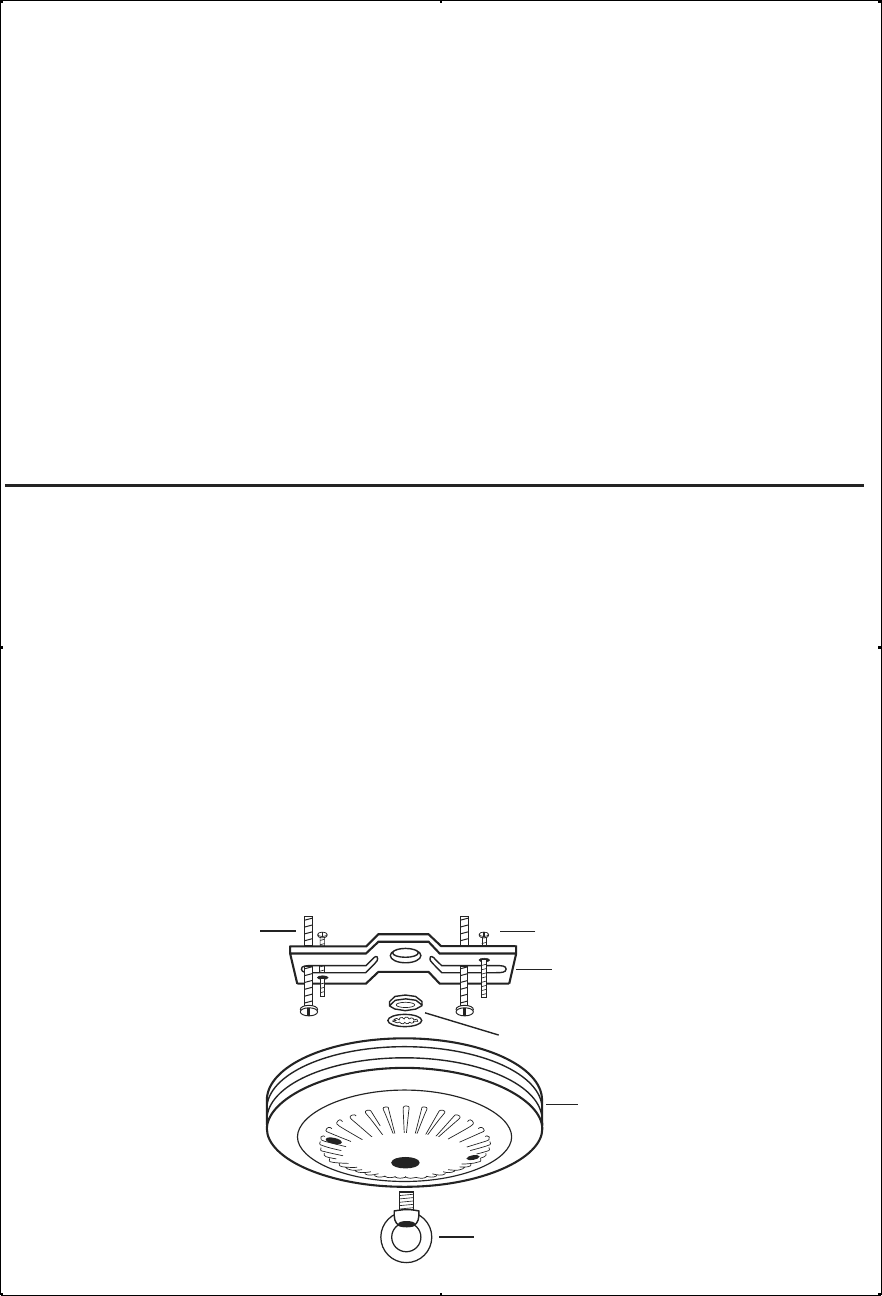
1 Canopy (E)
•
1 Lock Nut (B)
•
1 Crossbar (F)
•
1 Screw Collar Loop (A)
•
4 Mounting Screws (C & D)
•
2 Cap Nuts
•
1 Lock Washer (B)
CAUTION:
Turn off electrical current at source before working with any lighting fixture or portable lamp.
Install and use this product according to your local electrical codes and regulations.
INSTRUCTIONS
1. If the lighting fixture is mounted to a ceiling outlet box, the box must be supported directly by the building
structure and be capable of supporting up to 50 lbs.
2. Attach the threaded loop (A) to the canopy (E) using the nut and lock washer (B) provided. Tighten.
3. Thread both 1” screws (C) into the threaded holes from the offset side of the crossbar. (F)
4. Mount the crossbar to the ceiling box using both
1
⁄2” screws (D). Tighten until the bracket is flush with the ceiling.
5. Pass fixture wires through hole in loop to the back side of canopy.
6. While supporting the fixture, connect fixture wires to current supply wires in ceiling outlet box. Use wire
connectors following manufacturer’s directions.
7. While supporting the fixture at the canopy, attach the canopy to the ceiling box using the cap nuts. Tighten
securely. Be sure the fixture wires are carefully placed inside the ceiling outlet box.
70053
Contiene:
•
1 Dosel (E)
•
1 Tuerca de Seguridad (B)
•
1 Tranca (F)
•
1 Argolla con Rosca (A)
•
4 Tornillos de Montura (C & D)
•
2 Tuercas de Capuchón
•
1 Arandela de Seguridad (B)
PRECAUCIÓN:
Apague la corriente eléctrica en la fuente de abastecimiento antes de trabajar con
cualquier adorno de iluminación o lámpara portátil. Instale y use este producto de acuerdo a los códigos y
reglamentos locales de electricidad.
INSTRUCCIONES
1. Si el adorno de iluminación está instalado en una caja de empalme, la caja debe estar sujeta directamente a la
estructura del edificio y ser capaz de aguantar hasta 50 lbs.
2. Sujete la argolla con rosca (A) al dosel (E) usando la tuerca y arandela de seguridad (B) provistas. Apriete.
3. Roscar ambos tornillos de 2,54 cm (C) a los agujeros con roscas del lado desplazado de la tranca. (F)
4. Instale la tranca a la caja de empalme usando dos tornillos de 1,27 cm (D). Apriete hasta que el soporte este al
ras del techo.
5. Pase los cables del adorno através del agujero de la argolla que esta hacia el lado posterior del dosel.
6. Mientras sujeta el adorno, conecte los cables del adorno a los cables de abastecimiento de corriente en la caja
de empalme. Use conectores de cables siguíendo las instrucciones del fabricante.
7. Mientras sujeta el adorno al dosel, conecte el dosel a la caja de empalme usando las tuercas de capuchón.
Apriete firmemente. Asegurese de que los cables esten colocados cuidadosamente dentro de la caja de
Antique Brass Finish
Acabado Latón Antiguo

 (4 pages)
 (2 pages)
 Manymanuals.com
 Manymanuals.de
 Manymanuals.fr
 Manymanuals.it
 Manymanuals.pl
 Manymanuals.cz
 Manymanuals.es
 Manymanuals-pt.com
Comments to this Manuals